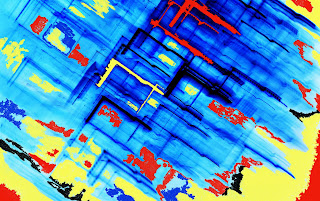
Step 4

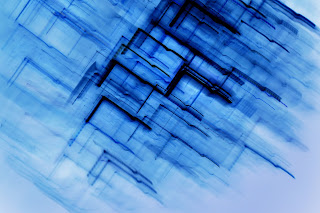
Step 3

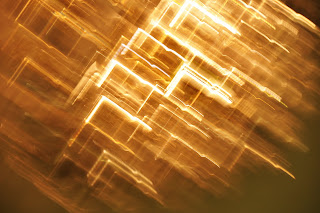
Step 2

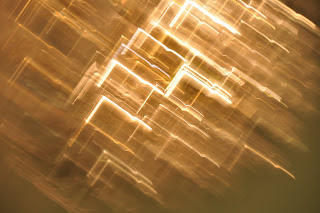
Step 1
OK, I will try to tell you in steps how I did this piece of photographic art. It really is easy ... it's just a bit harder to explain.
Step 1 - Take a good "lousey" photo. This is the easiest thing for me to do. I have found that if I start by doing something crazy ... it usually has cool results. This is why I totally love hanging around with young photographers that didn't learn a bunch of rules. Their ideas are WHACK ... and they end up with really cool stuff with a bit of practice. Tip ... if you are bored with your photography take a class ... see what others are doing. A fresh look is always a motivator for me.
I usually know I am gonna get schooled in new thinking when I am hanging around with photographers that say ... "Seriously they used to only have film cameras? What's film? Did you put it inside the camera? Wow, that's crazy!"
The Step 1 photo looks like junk but it is intentional. For this photo I am shaking my camera barrel all over while exposing the sensor for 1/3 of a second in Shutter Priority at ISO200 (or Tv Time Variable Mode if you own a Canon). I know it's hard to tell but it's a photograph of a hotel chandelier. I was bored sitting in the lobby while waiting for my taxi to the LAX airport so I was just goofing around firing at everything under the sun.
Step 2- Push the contrast up on the Step 1 Photo and sharpen the photo a bit.
Step 3- Turn the Step 2 Photo into a negative.
Step 4- Use photoshop elements program to spill additional colors into the photo to make it a bit more interesting. Granted Step 4 takes practice but I did all of this in about 10 minutes. (probably 9 minutes was Step 4). Hope this helps. Practice. Take any photo and try to do the first 3 steps if you don't have a photoshop type program.
Good luck!
NikonSniper Steve
No comments:
Post a Comment