Back Lighting Foods and Liquids
Translucent foods and liquids are ideal candidates for backlighting. You can really show off colors and patterns with your light shining directly through your subject. It is critical that your light source be intense enough and your subject translucent enough to make this work. If you are using fruits and vegetables as a subject, be sure to slice them thin enough to let plenty of light through. If you are shooting liquids, pick something that is fairly light in color. It's much more difficult to get light to penetrate red wine than white wine or dark beers like porter and stout than something like pale ale.The setup is pretty simple and just about any strobe, hot light, speedlite, or even natural light will work. A softbox will make a great light source for backlighting fairly thin foods and light colored liquids as well as providing a nice high key background. A diffusion panel will also work as will a thin piece of white Plexiglas. You can place a very large reflector on your strobe, point it straight up and set a piece of Plexiglas on it to make a "light table". You can get thin sheets of Plexi in different colors to make some interesting backgrounds as well. Another alternative is an actual light table or slide viewing box. Colored gels can be placed on these for different background colors.
Whenever you are shooting towards your light source, you need to watch out for lens flare so a lens hood is definitely required and you can even use your hand or a small flag to block any additional unwanted light from hitting the front lens element. Additionally, masking off your light source so that you are only allowing light through your subject and not around it will also really help avoid flare and increase contrast. Black foam core works great for this. Here are a couple of very easy to set up backlighting sources that will work for many subjects. The first one is a softbox with foam core blocking all but a strip of light and the second is a large window with direct sunlight coming through. Again, foam core is used to block out unwanted light from hitting the front element of the lens.
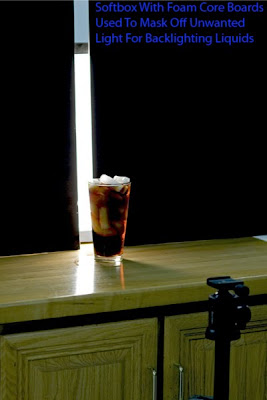
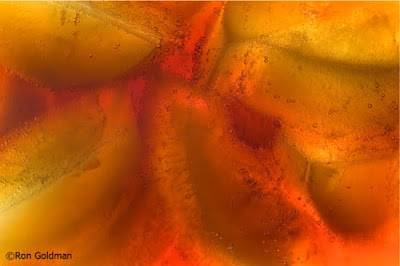
Canon 90mm TS-E w/36mm extension tube
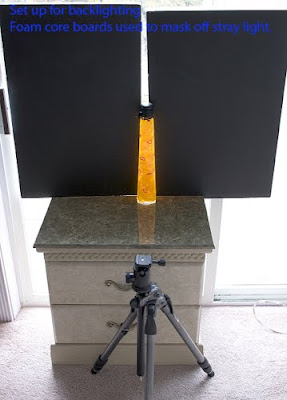
This setup works equally well as long as you have a large enough window with direct sunlight coming through it. Only a thin strip of light is needed to fully illuminate the subject. You really have to be careful when shooting directly into sunlight this bright. Make sure that you don't let any light past the subject or you could hurt your eyes.
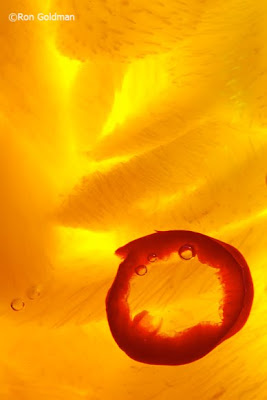
Canon 180mm macro, f/8, 1/40sec
It takes a lot of light to shine through a subject this dense and the direct sunlight works perfectly. Using a macro lens, I was able to completely fill the frame with the subject.
Another method that works great if you have the ability to shoot straight down on your subject is to simply place it directly on a backlit surface. You can make your own light table very easily out of a softbox, strobe w/reflector, or continuous light and piece of Plexiglas if you don't have any other options available. I have used all of the following methods and they all work equally well. You do need to be careful that your working surface is sturdy enough to hold up your subject.
Another method that works great if you have the ability to shoot straight down on your subject is to simply place it directly on a backlit surface. You can make your own light table very easily out of a softbox, strobe w/reflector, or continuous light and piece of Plexiglas if you don't have any other options available. I have used all of the following methods and they all work equally well. You do need to be careful that your working surface is sturdy enough to hold up your subject.
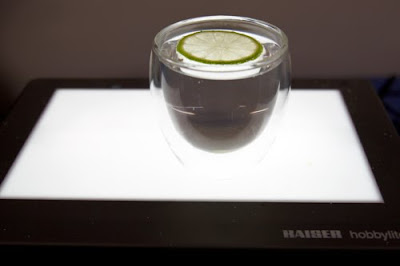
Light box used for backlighting.
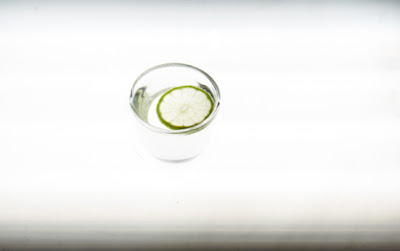
Fluorescent studio light with white plexi used for backlighting.
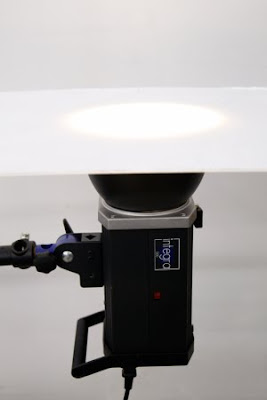
Strobe w/7" reflector and white plexi for backlighting.
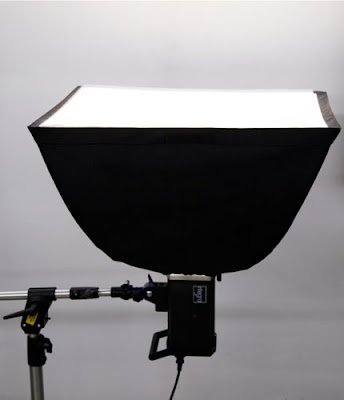
Strobe with softbox and white plexi used for backlighting.
All of these lights/setups are suitable for creating beautiful backlit images. The following are some examples of what can be done. There are hundreds of other subjects that will work equally as well.
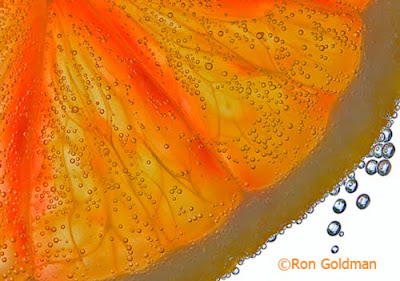
Canon 28-70mm w/20mm extension tube, f/11, 1/2sec
Orange slice in sparkling water, sitting on a light box. The light coming past the orange makes a nice high key background.
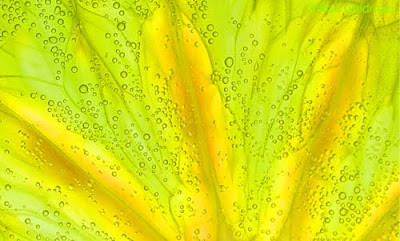
Canon 28-70mm w/20mm extension tube, f/11, 1/3sec
Switched out the orange slice for a lime and placed a green gel under the glass for color.
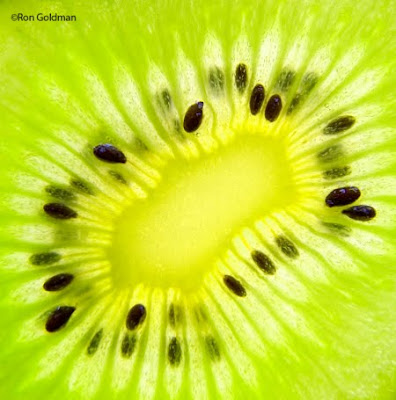
Canon 28-70mm w/36mm extension tube, f/5.6, 1/30sec
Thin slice of Kiwi placed directly on light box. The extension tube allowed me to move in close enough to fill the frame.
To learn more about this and other food photography techniques, check out the following classes at PPSOP.com
Introduction to Food Photography Food Photography 201 - Recipes for Success
Ron Goldman
PPSOP Instructor
No comments:
Post a Comment